Eiki LC-XT9 User Manual
Browse online or download User Manual for Projectors Eiki LC-XT9. Eiki LC-XT9 User Manual
- Page / 64
- Table of contents
- TROUBLESHOOTING
- BOOKMARKS
- MODEL LC-XT9 1
- TO THE OWNER 2
- SAFETY INSTRUCTIONS 3
- COMPLIANCES 4
- TABLE OF CONTENTS 5
- FEATURES AND DESIGN 6
- SETTING-UP PROJECTOR 8
- POSITIONING PROJECTOR 9
- LENS INSTALLATION 9
- PREPARATION 10
- MOVING PROJECTOR 11
- CONNECTING PROJECTOR 12
- CONTROL PORT CONNECTORS 13
- AUDIO INPUT JACKS 13
- 5 BNC INPUT JACKS 13
- DVI INPUT TERMINAL 13
- HDB 15-PIN INPUT TERMINAL 13
- PROJECTOR ID SETTING 14
- CONNECTING TO COMPUTER 15
- CONNECTING TO VIDEO EQUIPMENT 16
- BEFORE OPERATION 17
- INDICATORS 18
- FRONT INDICATORS 18
- REAR INDICATORS 18
- OPERATION OF REMOTE CONTROL 19
- OPERATING ON-SCREEN MENU 21
- MENU BAR 22
- BASIC OPERATION 23
- KEYSTONE ADJUSTMENT 24
- ZOOM ADJUSTMENT 24
- FOCUS ADJUSTMENT 24
- LENS SHIFT ADJUSTMENT 24
- PICTURE FREEZE FUNCTION 25
- NO SHOW FUNCTION 25
- P-TIMER FUNCTION 25
- COMPUTER INPUT 26
- AUTOMATIC MULTI-SCAN SYSTEM 27
- PC ADJUSTMENT 28
- MANUAL PC ADJUSTMENT 29
- PICTURE IMAGE ADJUSTMENT 31
- IMAGE LEVEL ADJUSTMENT 32
- PICTURE SCREEN ADJUSTMENT 33
- VIDEO INPUT 34
- SELECTING VIDEO SYSTEM 35
- SETTING MENU 39
- Time left until Lamp off 40
- APPENDIX 42
- LAMP MANAGEMENT 43
- LAMP REPLACEMENT 44
- LAMP REPLACE COUNTER 45
- LAMP HANDLING PRECAUTIONS 46
- TROUBLESHOOTING 47
- Computer Input 48
- Computer Input/Video Input 48
- Projector Condition 50
- Indicators 50
- OPTIONAL PARTS 52
- TECHNICAL SPECIFICATIONS 53
- USB PORT TERMINAL 54
- HDB 15-PIN TERMINAL (ANALOG) 54
- SERIAL PORT IN/OUT TERMINAL 54
- DIMENSIONS 55
- LCD PROJECTOR 57
- LENS LOCK RELEASE 59
- LENS LOCK 59
- Focus Lock Screw 62
- Focus Lock Ring 62
- Correcting the focus 63
- LENS SHIFT (UP/DOWN) 64
- LENS SHIFT (SIDE TO SIDE) 64
Summary of Contents
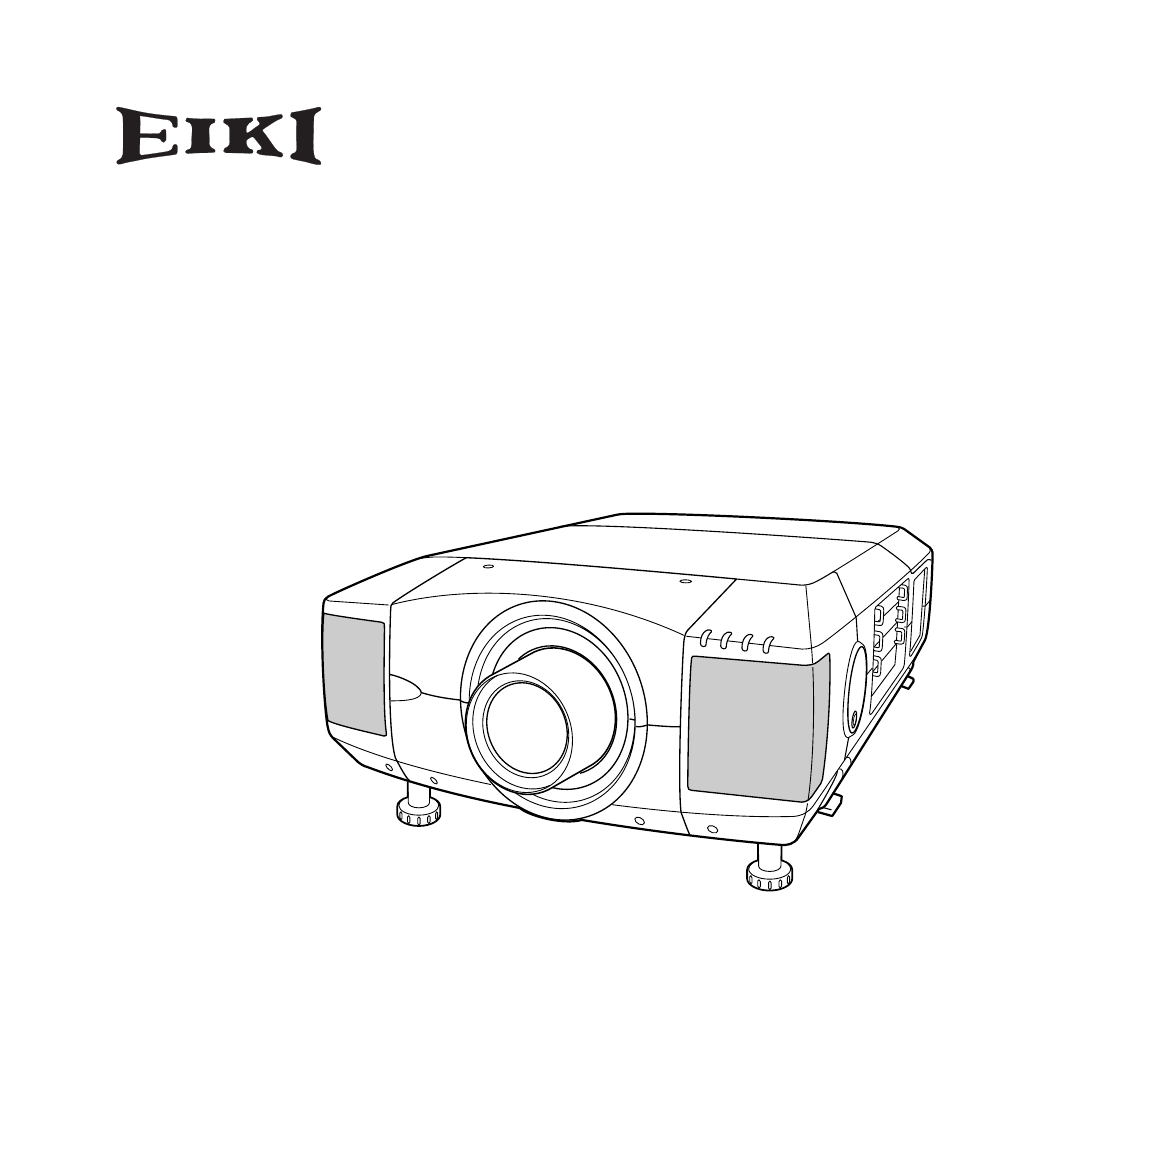
✽ Projection lens is optional.MULTIMEDIA PROJECTORMODEL LC-XT9OWNER'S INSTRUCTION MANUAL
10PREPARATIONPICTURE LEVEL AND TILT ADJUSTMENTPicture tilt and projection angle can be adjusted withhandles on both sides of a projector. Projection
11MOVING PROJECTORFor safety, be sure to hold Carrying Handleson both sides by 2 or more people whenmoving a projector. Moving it unproperly mayresult
12CONNECTING PROJECTORTERMINALS OF PROJECTORThis projector applies various input/output terminals and 4 terminal slots for expansion to tune to divers
13CONNECTING PROJECTORANALOG RGBR/Pr G/Y B/Pb H/HV VCONTROL PORTDVIINPUT 1R/C JACKUSBRESET(MONO)(MONO)(MONO)(MONO)CONTROL PORTAUDIOCONTROL PORTINPUT 2
14CONNECTING PROJECTORConnect an external audioamplifier to these jacks. (Refer to P15, 16.)AUDIO OUTPUT JACKSThis projector uses a micro processor t
15CONNECTING PROJECTORANALOG RGBR/Pr G/Y B/Pb H/HV VCONTROL PORTDVIINPUT 1R/C JACKUSBRESET(MONO)(MONO)(MONO)(MONO)CONTROL PORTAUDIOCONTROL PORTINPUT 2
16CONNECTING PROJECTORCONNECTING TO VIDEO EQUIPMENTANALOG RGBR/Pr G/Y B/Pb H/HV VCONTROL PORTDVIINPUT 1R/C JACKUSBRESET(MONO)(MONO)(MONO)(MONO)CONTROL
17BEFORE OPERATIONIMAGE BUTTONUsed to select imagelevel. (P31, 36)MENUAUTO PC ADJ.IMAGESELECTZOOM FOCUSLENS SHIFTON-OFFINPUT 1/2INPUT 3/4 SIDE CONTRO
18BEFORE OPERATIONREADYLAMPLAMPREPLACEWARNINGTEMP.READY INDICATORLAMP INDICATORLAMP REPLACE INDICATORThis indicator lights greenwhen a projector is re
19BEFORE OPERATIONOPERATION OF REMOTE CONTROLLIGHT BUTTONLights the buttons on the remotecontrol for about 10 seconds.Used to select inputsource. (P2
2CAUTION : TO REDUCE THE RISK OF ELECTRICSHOCK, DO NOT REMOVE COVER (ORBACK). NO USER-SERVICEABLE PARTSINSIDE EXCEPT LAMP REPLACEMENT.REFER SERVICING
20BEFORE OPERATION16.4’(5 m)60°16.4’(5 m)60°To insure safe operation, please observe following precautions :● Use (2) AA or LR6 type alkaline batterie
21BEFORE OPERATIONHOW TO OPERATE ON-SCREEN MENUFLOW OF ON-SCREEN MENU OPERATIONDisplay ON-SCREEN MENUPress MENU button to display ON-SCREEN MENU (MENU
22BEFORE OPERATIONMENU BARPC SYSTEM MENUUsed to selectcomputer system.(Refer to P27)IMAGE ADJUST MENUUsed to adjustcomputer image. [Contrast/Brightnes
23BASIC OPERATIONTURNING ON PROJECTORTURNING OFF PROJECTORTURNING ON / OFF PROJECTOR Power off?Message disappears after 4 seconds.Connect a projector&
24BASIC OPERATIONKEYSTONE ADJUSTMENT1Press KEYSTONE button on Remote Control Unit or selectKeystone on SETTING menu. (Refer to page 39.) Keystonedia
25BASIC OPERATIONPress FREEZE button on Remote Control Unit to freeze picture on-screen. To cancel FREEZE function, press FREEZEbutton again or press
26COMPUTER INPUTSELECTING COMPUTER SYSTEMWHEN SELECT INPUT 1 (DVI INPUT TERMINAL )Press MENU button and ON-SCREEN MENU will appear. PressPOINT LEFT/
27COMPUTER INPUTThis projector automatically tunes to most different types of computers based on VGA, SVGA, XGA, SXGA, WXGA or UXGA(refer to “COMPATIB
28COMPUTER INPUTPC ADJUSTMENTAUTO PC ADJUSTMENTAuto PC Adjustment function is provided to automatically adjust Fine sync, Total dots and Picture Posit
29COMPUTER INPUTMANUAL PC ADJUSTMENTThis projector can automatically tune to display signals from most personal computers currently distributed. Howe
3SAFETY INSTRUCTIONSAll the safety and operating instructions should be read beforethe product is operated.Read all of the instructions given here and
30COMPUTER INPUTNOTE : Fine sync, Display area, Display area H, Display area V andFull screen cannot be adjusted when “480i”, “575i”, “480p”,“575p”,
31COMPUTER INPUTPICTURE IMAGE ADJUSTMENTIMAGE LEVEL SELECT (MENU)Press MENU button and ON-SCREEN MENU will appear. PressPOINT LEFT/RIGHT button to mo
32COMPUTER INPUTPress POINT LEFT/RIGHT buttonsto adjust value.Reset all adjustment to previous figure.ResetStoreCloses IMAGE ADJUST MENU.QuitOther ico
33COMPUTER INPUTPICTURE SCREEN ADJUSTMENTThis projector has a picture screen resize function, which enables you to display desirable image size.Press
34VIDEO INPUTPress MENU button and ON-SCREEN MENU will appear. PressPOINT LEFT/RIGHT button to move a red frame pointer toINPUT Menu icon.Move a poin
35VIDEO INPUTAV SYSTEM MENU (COMPONENT VIDEO)SELECTING VIDEO SYSTEMPress MENU button and ON-SCREEN MENU will appear. PressPOINT LEFT/RIGHT buttons to
36VIDEO INPUTPICTURE IMAGE ADJUSTMENTIMAGE LEVEL SELECT (MENU)Press MENU button and ON-SCREEN MENU will appear. PressPOINT LEFT/RIGHT button to move
37VIDEO INPUTPress POINT LEFT/RIGHT buttonsto adjust value.Press MENU button and ON-SCREEN MENU will appear. PressPOINT LEFT/RIGHT button(s) to move
38VIDEO INPUTPICTURE SCREEN ADJUSTMENTThis projector has a picture screen resize function, which enables you to display desirable image size.Press MEN
39SETTINGCeilingWhen this function is “On,” picture is top/bottom and left/rightreversed. This function is used to project image from a ceilingmounted
4COMPLIANCESThe AC Power Cord supplied with this projector meets the requirement for use in the country you purchased it. AC Power Cord for the Unite
40SETTINGThis function turns Projection Lamp off when this projector detectssignal interruption and is not used for a certain period in order toreduce
41SETTINGOn startWhen this function is “On,” projector is automatically turned on justby switching MAIN ON/OFF SWITCH on.Note ; Be sure to turn projec
42APPENDIXREADYLAMPLAMPREPLACEWARNINGTEMP.AIR FILTER CARE AND CLEANINGAIR FILTERAIR FILTERTOPAIR FILTERBASEAIR FILTERMAINTENANCEWARNING TEMP. INDICATO
43APPENDIXLAMP MANAGEMENTThis Projector is equipped with 4 Projection Lamps to ensure brighter image and those lamps are controlled by LampManagement
44APPENDIXCheck number of lamp to be replaced on Lamp Status Display.Remove two screws on Lamp Cover and press button to openLamp Cover. (See right f
45APPENDIXORDER REPLACEMENT LAMPReplacement Lamp can be ordered through your dealer. When ordering a Projection Lamp, give thefollowing information t
46APPENDIXThis projector uses a high-pressure lamp which must be handled carefully and properly. Improperhandling may result in accidents, injury, or
47APPENDIXTROUBLESHOOTINGBefore calling your dealer or service center for assistance, check matters below once again.1. Make sure you have connected a
48APPENDIXSystem (1)SVGA 1SVGA 2SVGA 3Auto PC Adj.Fine sync.Total dotsHorizontalVerticalCurrent modeClampDisplay areaDisplay area - HDisplay area - VF
49APPENDIXVideo InputAuto1080i/501035i720p575p480p575i480iStandardCinemaImage 1Image 2Image 3Image 4Quit0 - 630 - 630 - 630 - 63Off/OnLanguageImage Se
5TABLE OF CONTENTSFEATURES AND DESIGN 6BEFORE OPERATION 17COMPUTER INPUT 26VIDEO INPUT 34SETTING 39APPENDIX 42PREPARATION 7NAME OF EACH PART OF PROJEC
50APPENDIXINDICATORS AND PROJECTOR CONDITIONCheck the Indicators for projector condition. • • • on : red• • • dim• • • off• • • flashing : redThe pro
51APPENDIXCOMPATIBLE COMPUTER SPECIFICATIONS–––––––– (Interlace)1024 x 768(Interlace)ON-SCREENDISPLAYRESOLUTIONH-Freq.(kHz)V-Freq.(Hz)VGA 1640 x 480 3
52APPENDIXOPTIONAL PARTSThe parts listed below are optionally supplied. When ordering those parts, give the name and Type No. to the sales dealer.● D
53APPENDIXOwner’s Manual (CD-ROM)Quick setup manualAC Power CordWireless/Wired Remote Control Transmitter and BatteriesVGA Cable6 Types Light-Block Sh
54APPENDIXVcc- Data+ DataGround1234USB PORT TERMINALPin ConfigurationConnect USB port output terminal of computeror peripheral equipment to this termi
55APPENDIXDIMENSIONS22.87 (581.0)Unit : inch (mm)Screw Holes for Ceiling MountScrews: 9-M8Depth: 0.315 (8.0)9.90 (251.5)10.15 (258.0)5.18 (131.5)9.90
1AA6P1P5346-- (KV6B) © 2006 Eiki International, Inc.A-key to better communicationsU.S.A.EIKI International, Inc.30251 EsperanzaRancho Santa MargaritaC
- 1 -ELCD PROJECTORLENS REPLACEMENT AND INSTALLATION PROCEDURESCAUTIONWhen installing or replacing the Projection Lens, refer to this manual. Forinsta
- 2 -ENOTE : The installation procedure and needed partsfor lens installation depend on the type of theProjection Lens. Check the Model No. of theProj
- 3 -ELENS LOCK SCREWDRIVER IN THE LENSLOCATE MOTORON RIGHT SIDELENS ATTACHMENTPart No. (910 275 6020)CONNECTORFig-4LENS MOTOR LEAD Fig-5LENS LOCKLEVE
6FEATURES AND DESIGNThis Multimedia Projector is designed with most advanced technology for portability, durability, and ease of use. Thisprojector u
- 4 -E6 This projector has 6 Light-Block Sheets. Use 2 Light-Block Sheets corresponding with lens. (Refer to the listbelow.) Use 1 Light-block Sheet
- 5 -E7 Adjust focus of the Projection Lens. (LNS-W01, LNS-W01Z, LNS-T01, LNS-T01Z and LNS-W03 only.)Set up the projector and project image on the sc
- 6 -EFocus Lock ScrewFocus Lock Ring● mark (yellow)FOCUS ADJUSTMENT (For Model LNS-W03)Set up the projector and project image on the screen.1. Loosen
- 7 -EBE SURE TO CHECK FOR SAFETYAfter installing or replacing the lens, be sure to check the following for safety.1. Check the lens is securely fixed
- 8 -ENOTE: Following table shows approximate measurement. Actual measurement depends on lens and projectors.SPECIFICATIONS (Throw distance and scree
7PREPARATIONNAME OF EACH PART OF PROJECTORBOTTOM OF CABINETBACK OF CABINETHOT AIR EXHAUSTED !Air blown from exhaust vent is hot. Whenusing or install
8PREPARATIONSETTING-UP PROJECTORThis projector uses nominal input voltages of 120 V or200-240 V AC. This projector automatically selectscorrect inpu
9PREPARATIONPOSITIONING PROJECTORBefore setting up a projector, install Projection Lens on a Projector.1. Before installation, check where a projector
More documents for Projectors Eiki LC-XT9

Related products and manuals for Projectors Eiki LC-XT9
 (1 pages)
(48 pages)
(48 pages)
(1 pages)
(2 pages)
(1 pages)
(1 pages)
(1 pages)
(44 pages)
(1 pages)
(1 pages)
(1 pages)
(1 pages)
(52 pages)
(1 pages)
(52 pages)
(1 pages)
(1 pages)
(1 pages)
(1 pages)
(48 pages)
(48 pages)
(1 pages)
(2 pages)
(1 pages)
(1 pages)
(1 pages)
(44 pages)
(1 pages)
(1 pages)
(1 pages)
(1 pages)
(52 pages)
(1 pages)
(52 pages)
(1 pages)
(1 pages)
© 2020, manymanuals.com. All rights reserved. | 0.394 s |
 Manymanuals.com
 Manymanuals.de
 Manymanuals.fr
 Manymanuals.it
 Manymanuals.pl
 Manymanuals.cz
 Manymanuals.es
 Manymanuals-pt.com
Comments to this Manuals